Product Page
Updated 8 months ago
Default Product Pages #
Once you install and set up the WooCommerce plugin, product pages will use a default WooCommerce template.
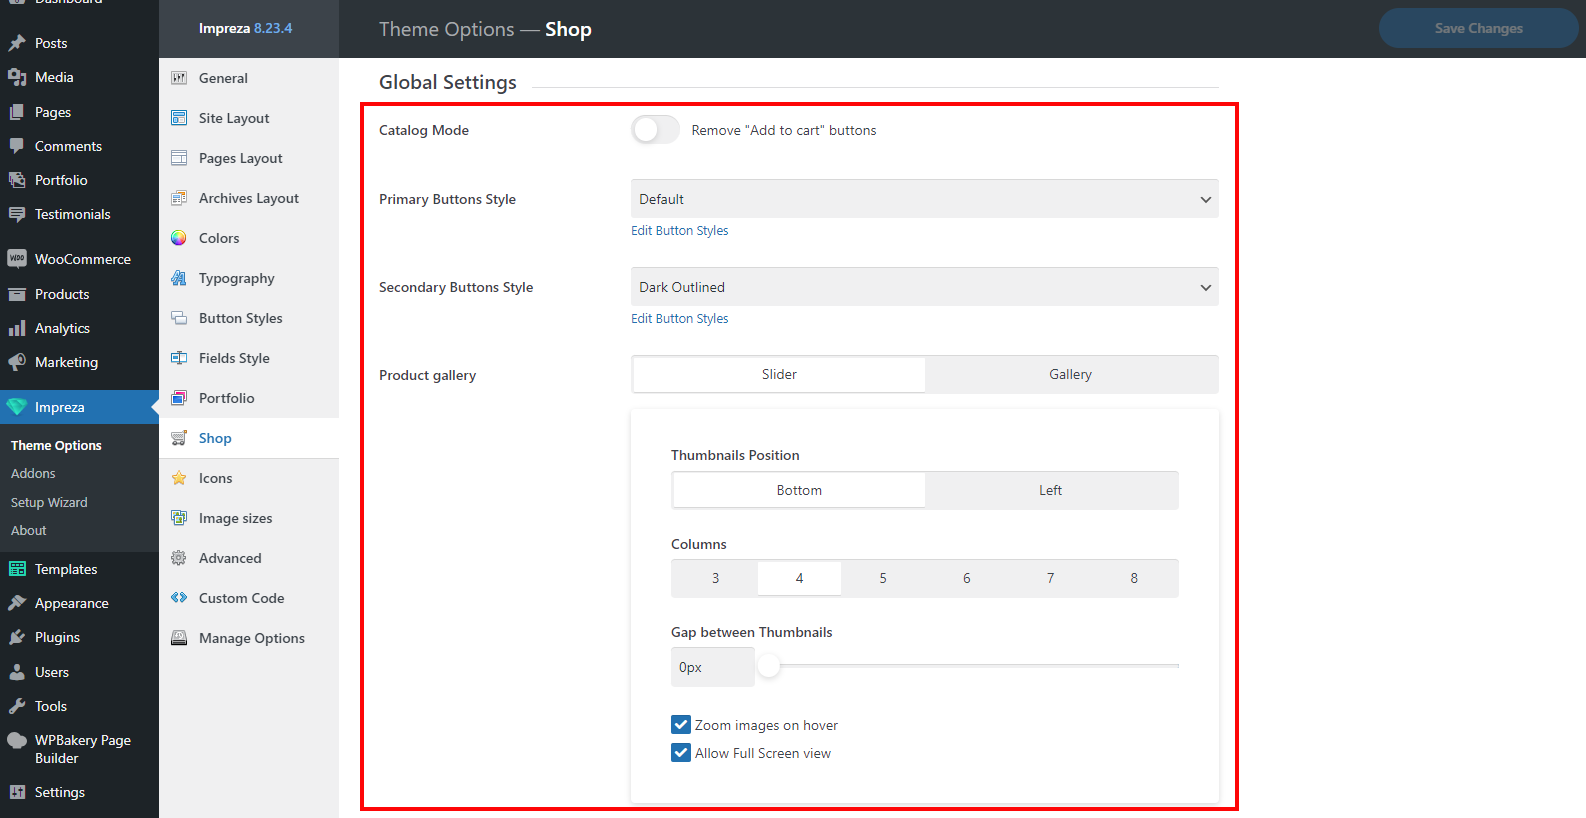
You can adjust the basic elements and options of this template at Theme Options > Shop > General Settings:
Custom Product Pages #
Custom Page Template for Products #
Create a new template at Templates > Page Templates and add needed elements.
Similar to regular posts and pages, you can use WP Bakery or Live Builder to add rows, columns, and other structure and content elements.
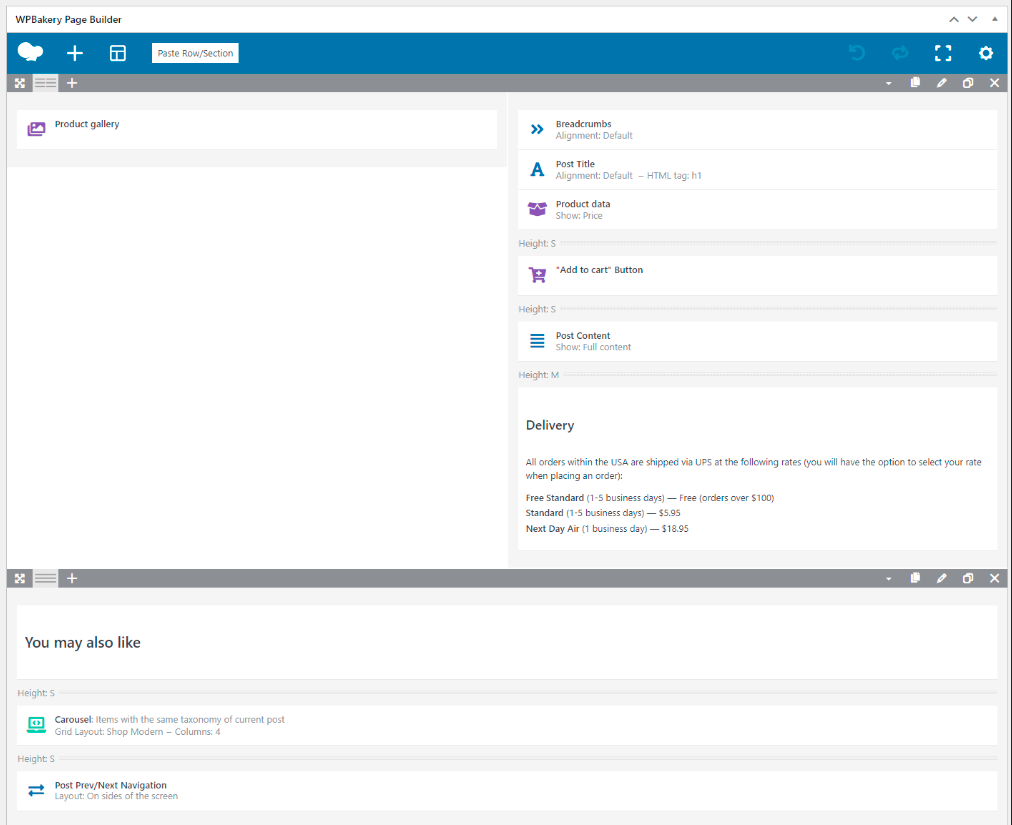
Here's the list of product-specific elements commonly used on a product page:
1. Product Gallery – shows a gallery of the product preview image(s). Its appearance could be adjusted at the Theme Options > Shop > Global Settings. You can also use the “Design” tab of the element to apply custom colors, spacing, and other styling features.
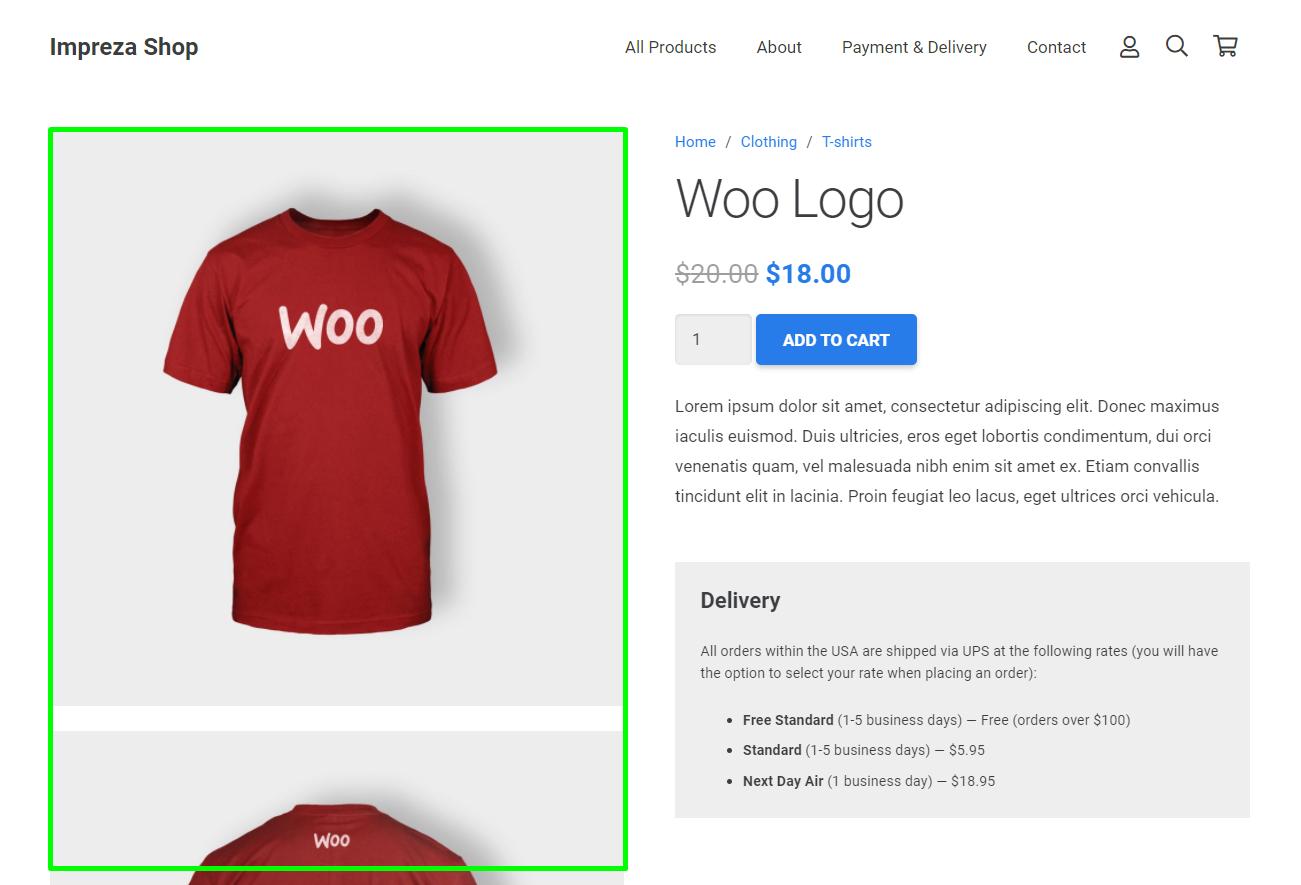
Depending on the desired design, you can also view the product gallery using other elements:
Grid. Pick the Show > Product gallery in the General settings.
Carousel. Pick the Show > Product gallery in the General settings.
Gallery. Select the dynamic value for the Images > Product gallery.
Image Slider. Select the dynamic value for the Images > Product gallery.
2. Product Data – shows one of the product data table elements (price on the screenshot below).
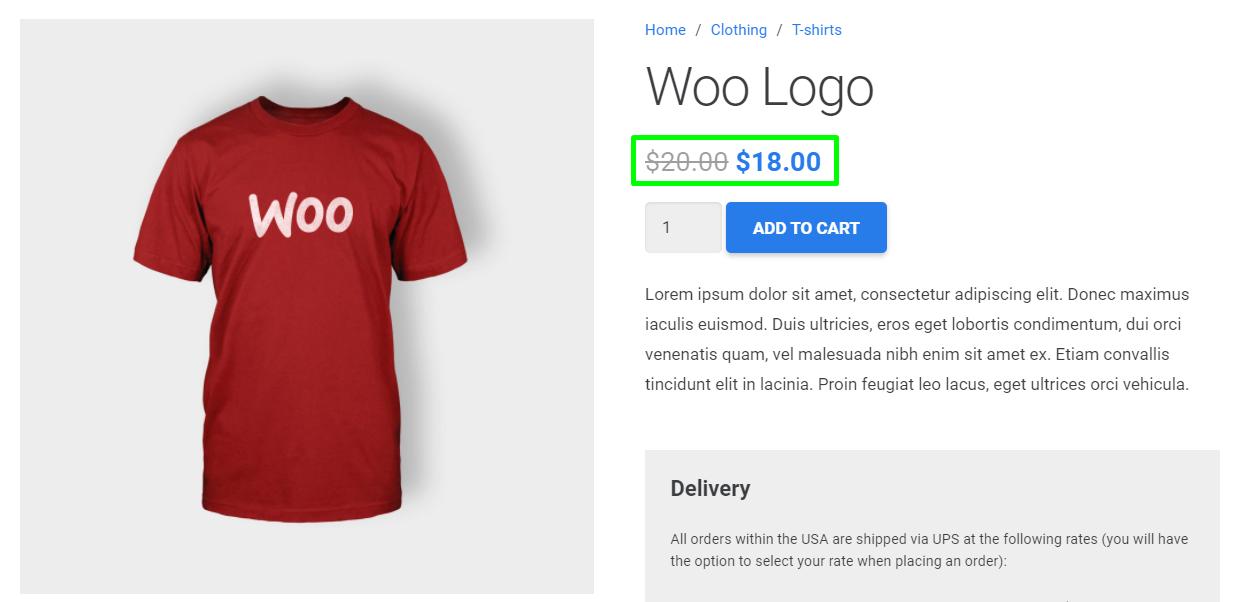
Available options to show via the Product Data are:
- Price;
- Rating;
- SKU;
- Sale Badge;
- Weight;
- Dimensions;
- List of attributes;
- Stock status;
- Actions for plugins compatibility.
You can add the Product Data element multiple times to show different options.
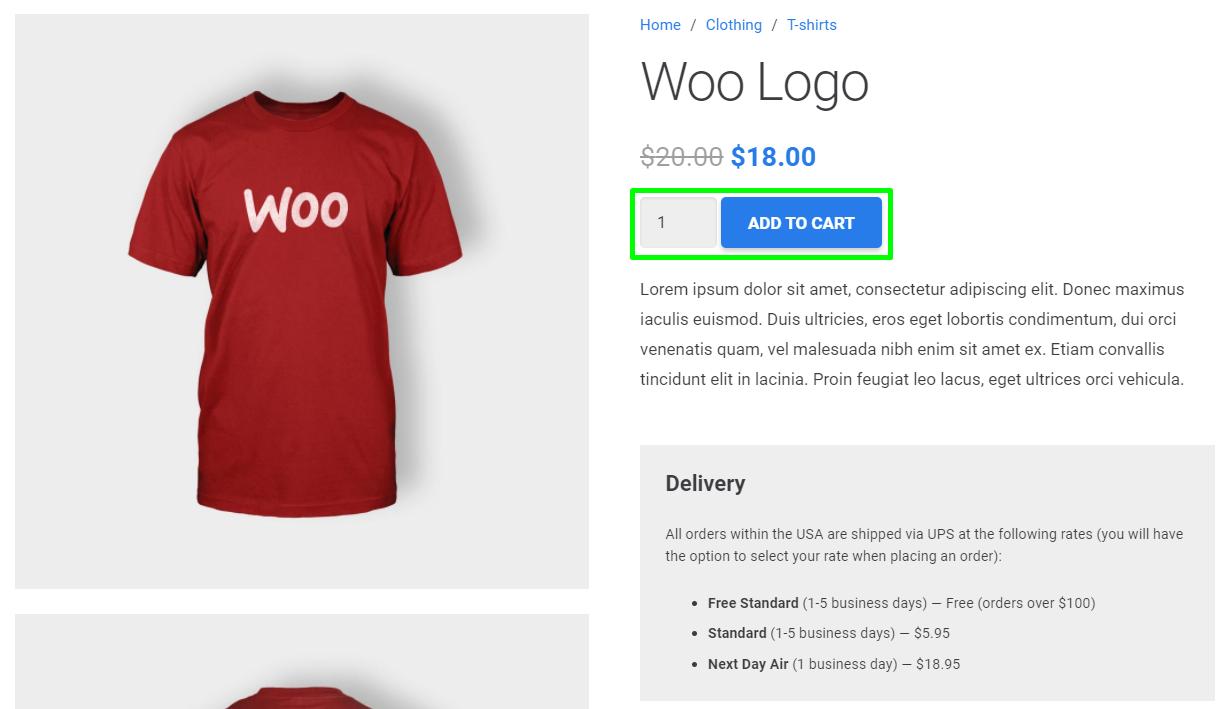
3. “Add to cart” Button – shows a button that adds items to the cart. If the product is set up as quantitive and/or if it has multiple attribute options (such as different sizes or color options) – “Add to Cart” Button element will add relevant dropdowns and inputs to choose the exact option(s) and number of items to be added to cart.
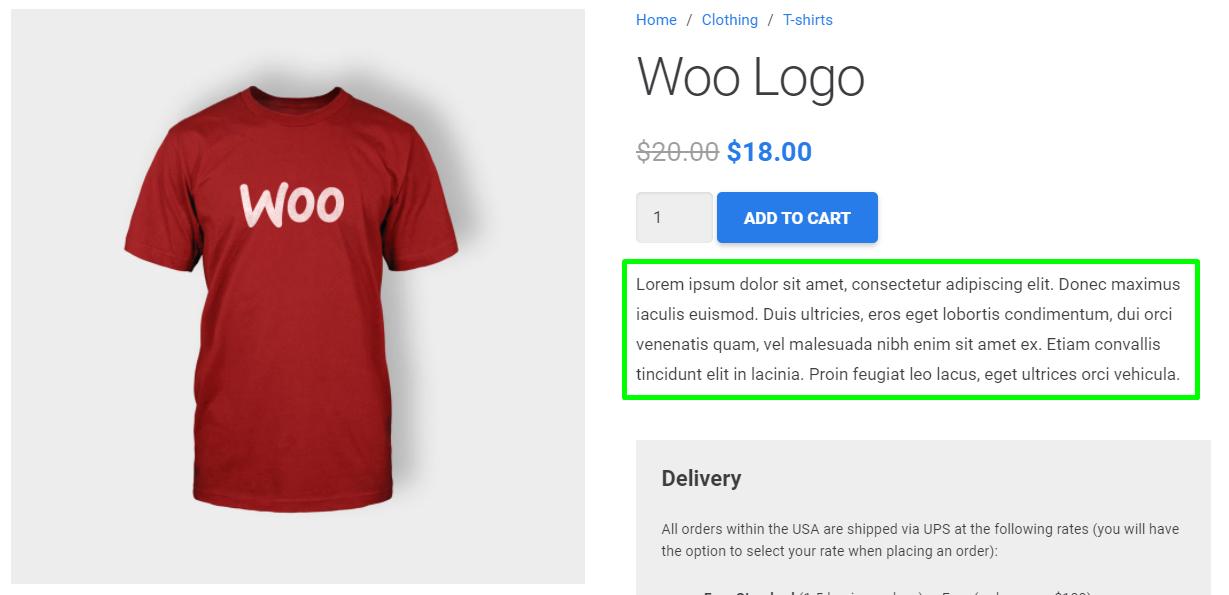
4. Post Content – shows a full text description of the product (Post Content > Full Content) or a short description (Post Content > Excerpt). If you need both short and full descriptions in your template, you can add this element multiple times. If the description is taking up too much space, you can hide part of it with the “Show more” link. To set it up, use the Post Content settings > More options > Hide part of a content with the "Show More" link.
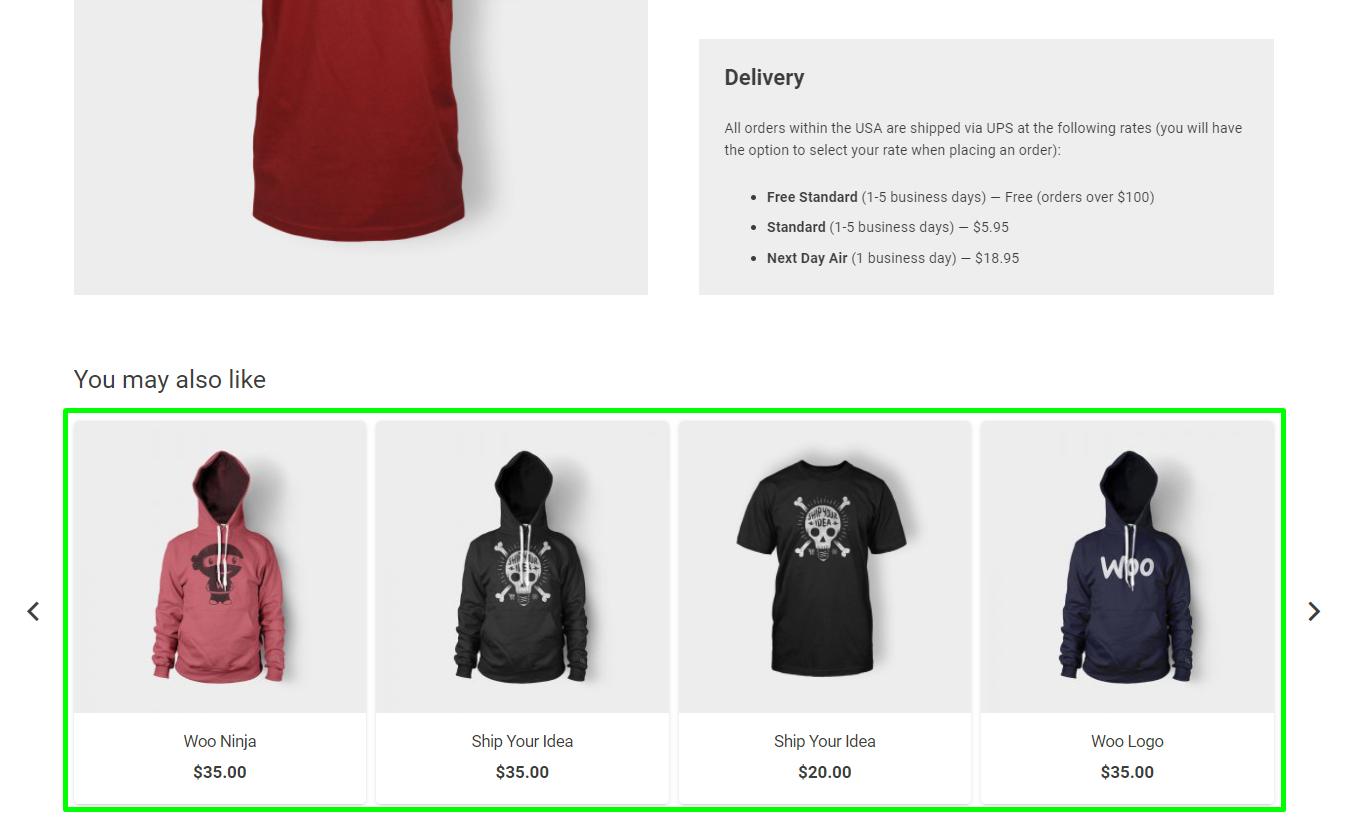
5. Product List / Carousel – you can set up these elements to list other products of the same category to interest the potential customer:
- Product List. On the General settings tab, select the Products with specific taxonomies > Show products: with the same taxonomy of the current product > Product categories.
- Carousel. On the General settings tab, select Show > Items with the same taxonomy as the current post > Product categories.
Similar to pages, you can use the “Design” tab of elements you add to your Page Template to apply custom styling options, such as background and text colors, sizes, spacing, appearance animation, and more.
Adding Upsells and Cross-Sells to Page Template for Products #
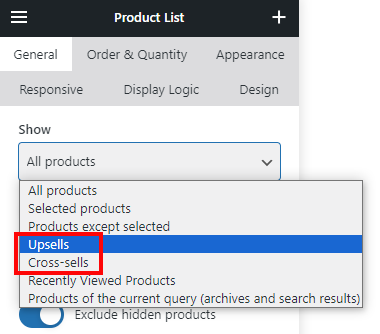
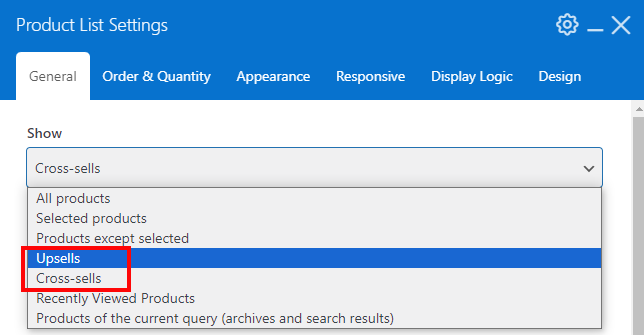
When editing the Page Template for the product, you can add a list of linked upsells and cross-sells products. Add a Product List or a Carousel element and pick the relevant "Show" option.
Importing Page Template for Products #
To simplify product page customization, you can use pre-built templates and make the necessary changes.
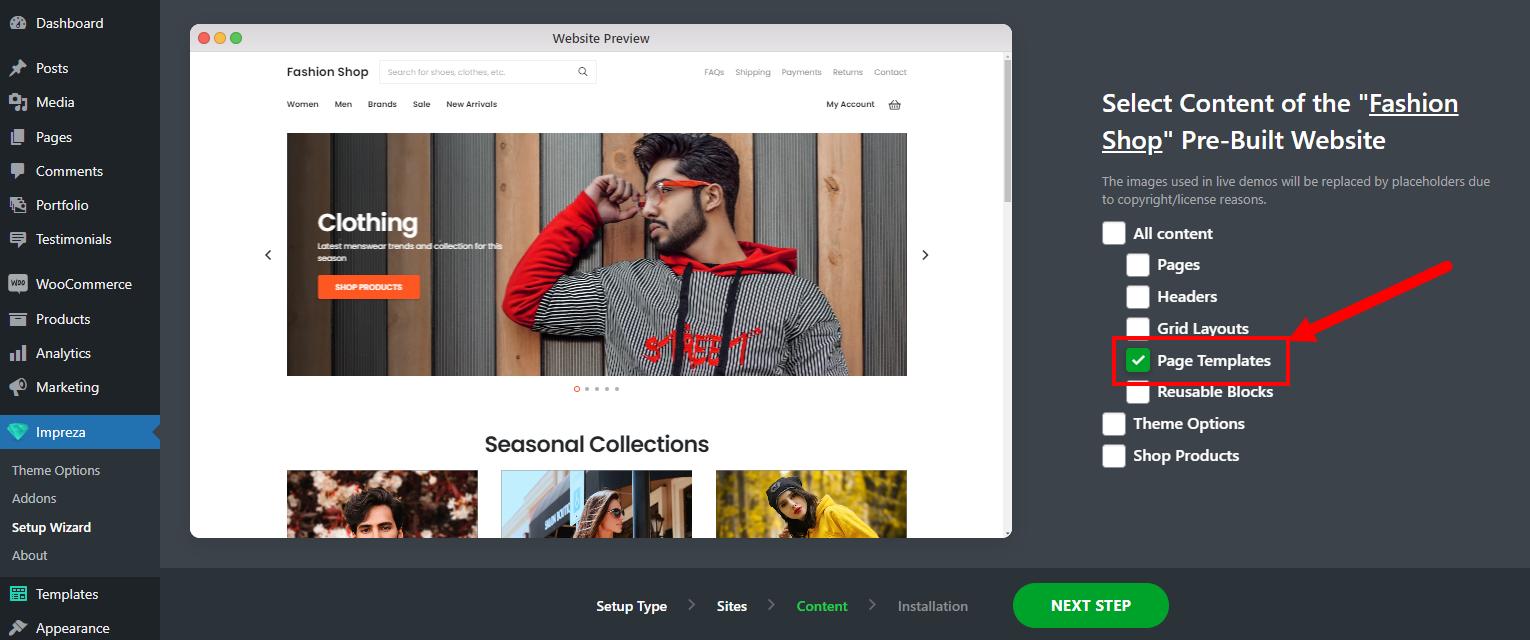
- Open the Pre-Built Website library, apply the WooCommerce filter, and check the product page design on the example sites.
- Go to Zephyr > Setup Wizard > Pre-Built Websites and click the site with the template you like.
- Deactivate all checkboxes except the Page Templates and proceed with the import.
Assigning Page Template for Products #
There are several options for the application of your custom Page Template for Products.
Globally for All Products #
The most common use case is to apply your custom Page Template to all products. To set it up, go to Theme Options > Shop > Product and choose your Page Template from the dropdown list.

For Products with a Specific Category or Tag #
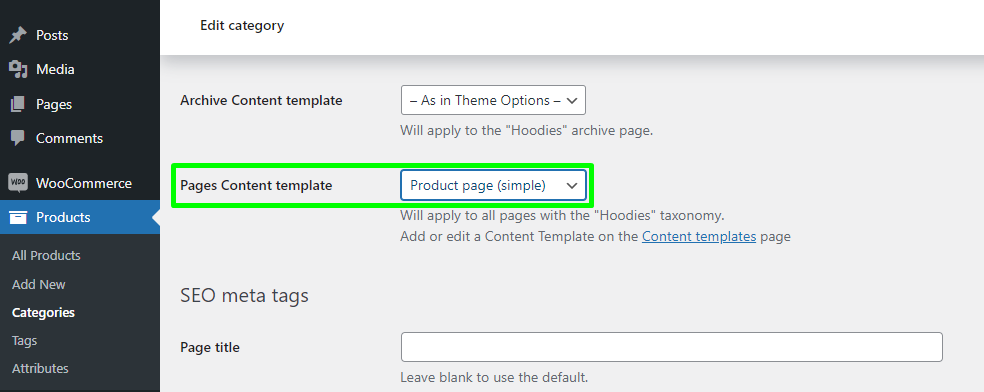
You can apply your custom Page Template only to the products of certain taxonomy (tags, categories). To set it up, open the relevant taxonomy name page, and specify your custom template in the Pages Page template dropdown.
For Specific Product(s) #
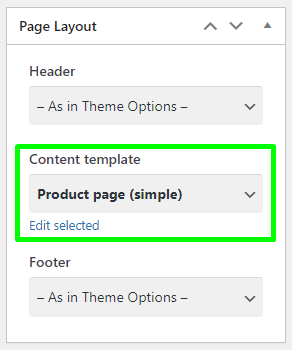
You might also want to apply a custom Page Template for certain product(s) only. You can set it up while editing the product page, via the Page Layout > Page Template.
When you assign Page Templates for products in multiple settings, the following priority takes place:
- 1st priority: Page Template assigned to the individual product.
- 2nd priority: Page Template assigned at taxonomy settings.
- 3rd priority: Page Template assigned at Theme Options > Shop.
Custom Product Page with Third-Party Plugins #
You might want to use some third-party plugin that modifies the product page by adding extra features/functionality.
To make these extra features work, open the Page Template you use for the Products. Add a Product data element and set it up to show "Actions for plugins compatibility".

Custom Product Pages Examples #
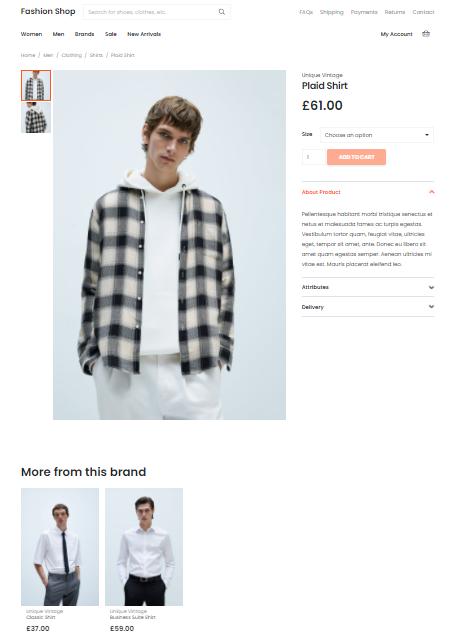
Example 1. Fashion Shop
Example 2. Online Courses

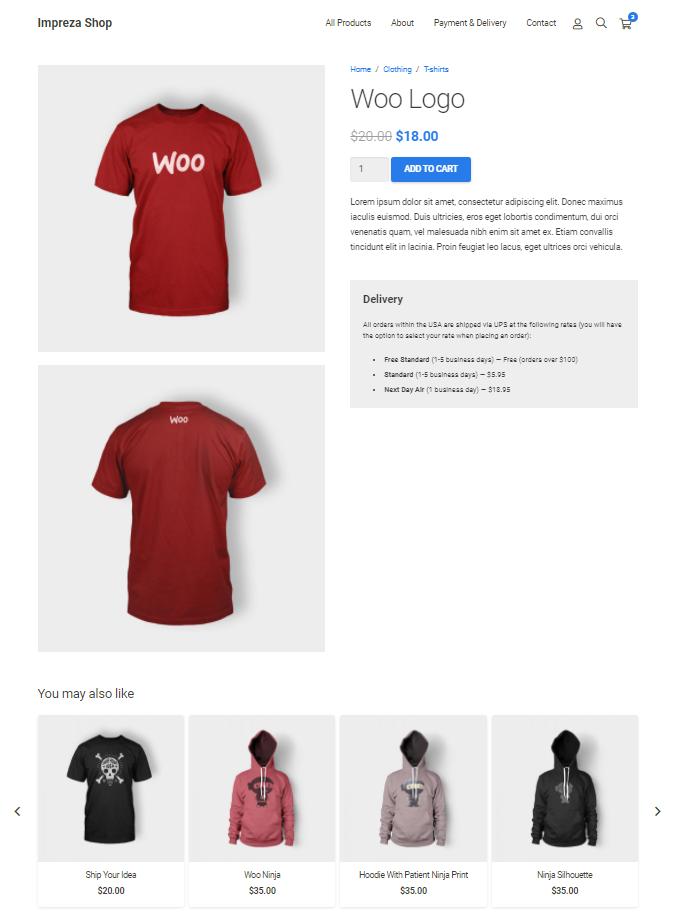
Example 3. Simple Shop
Variation Swatches #
At the moment, you can use the following FREE plugin: Variation Swatches for WooCommerce. It works with Zephyr custom product templates too.
