Multilingual Site
Updated 5 months ago
If you want to use a single language on your website, check the Translation article.
It's not possible to have a multi-lingual website without 3rd-party plugins. Zephyr is 100% compatible with the following multi-lingual plugins:
How to use Zephyr with WPML #
Official WPML guide for Impreza
Find more information about WPML itself in the Getting started guide.
How to manage translations #
You can manage all translations in a single place at WPML > Translation Dashboard. It shows all the post types and the text strings available for translation.

After choosing the elements you wish to translate, you can choose if you wish to duplicate the content, translate it manually by assigning a translator, or use automatic translation.
Automatic translation supports several engines, and the Private Translation Cloud (PTC) is the AI-based engine recommended by WPML.
The "Translate automatically" option calculates the cost in credits and shows it in the "Summary" before you start the translation.

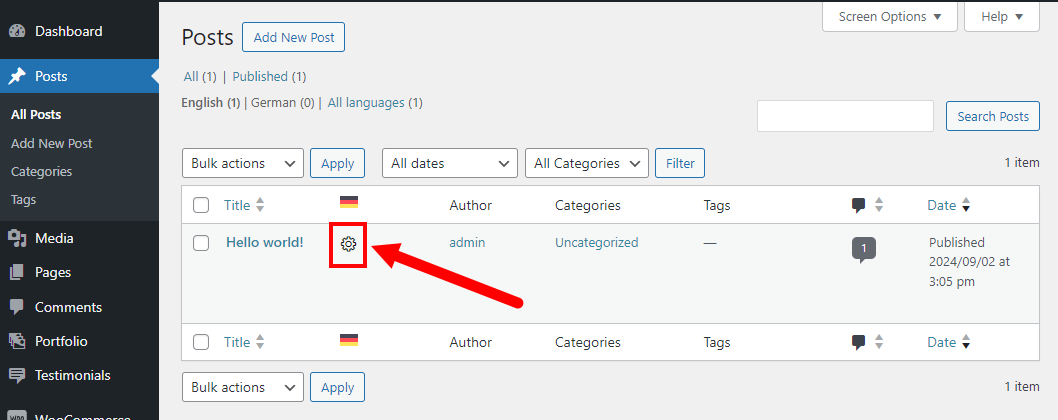
How to edit translations via WPML Advanced Translation Editor #
You can edit the translation by pressing the cog icon in the list (same for all post types):
Adjust the translations and click "Save and Complete" once finished:

Some elements (for example, Links) might be stored as encrypted metadata. In this case, you need to use the search with the "http" or other link fragment to see and edit it in the translation editor.
How to edit translations via Live Builder / WPBakery #
Create a duplicate of the original post for the needed language(s).
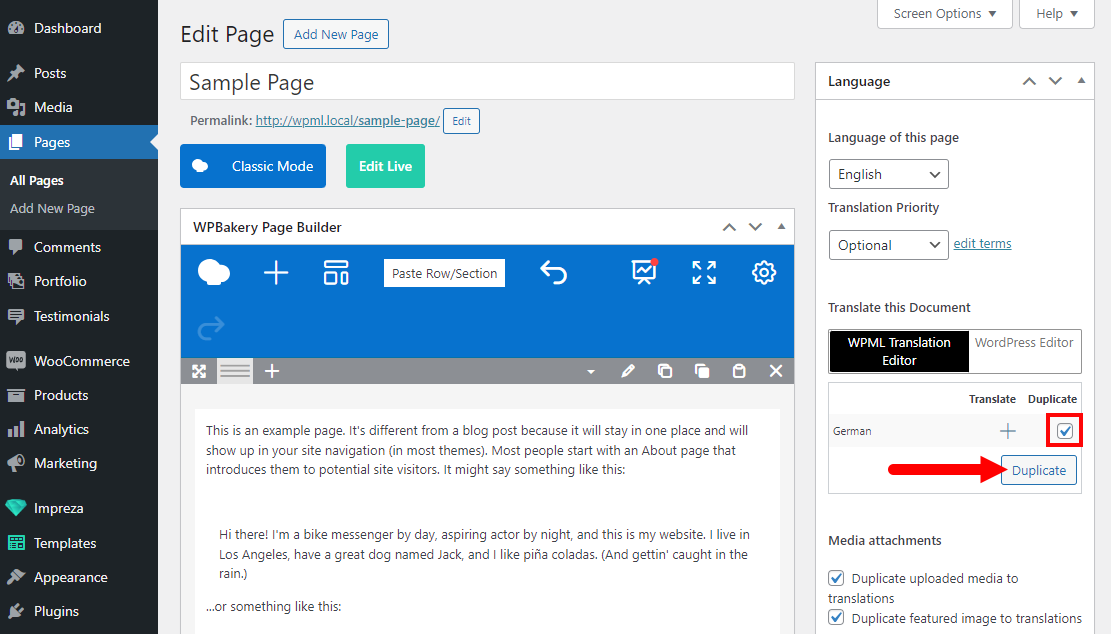
Open the translated post in Live Builder or WPBakery, then apply translations by editing the relevant elements.
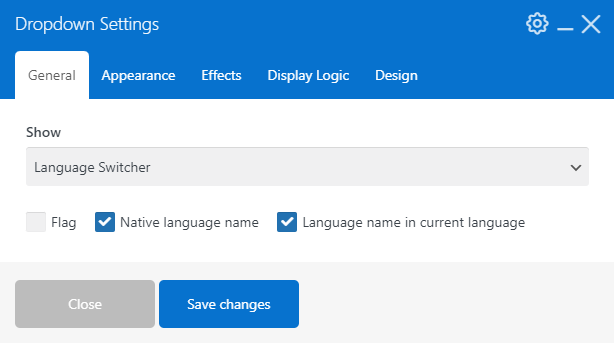
How to add a language switch? #
Add a Dropdown element and set it up to show "Language Switcher."
How do I adjust links to redirect to the relevant language version? #
You can add the [lang] shortcode to the link's path. This shortcode will automatically replace itself with the relevant language slug.
How can I translate the Header elements? #
At Templates > Headers, click the relevant icon to create or edit a translation for the relevant language(s).
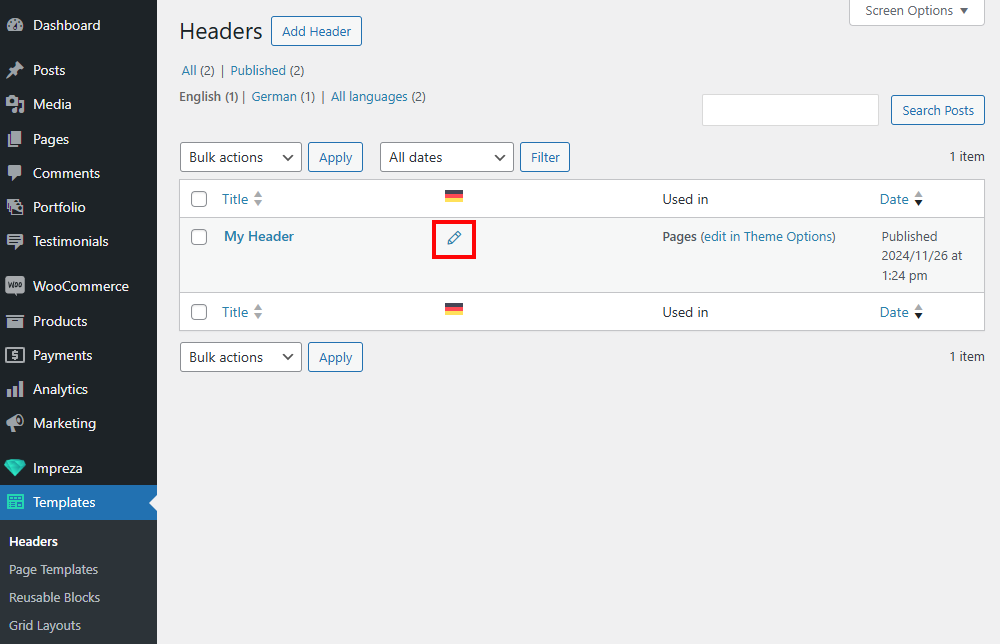
Once the translation is created, you can switch to the relevant language at the top of your admin bar. Open the translated version of the header and edit its layout and settings of the elements, as you did for the original header.
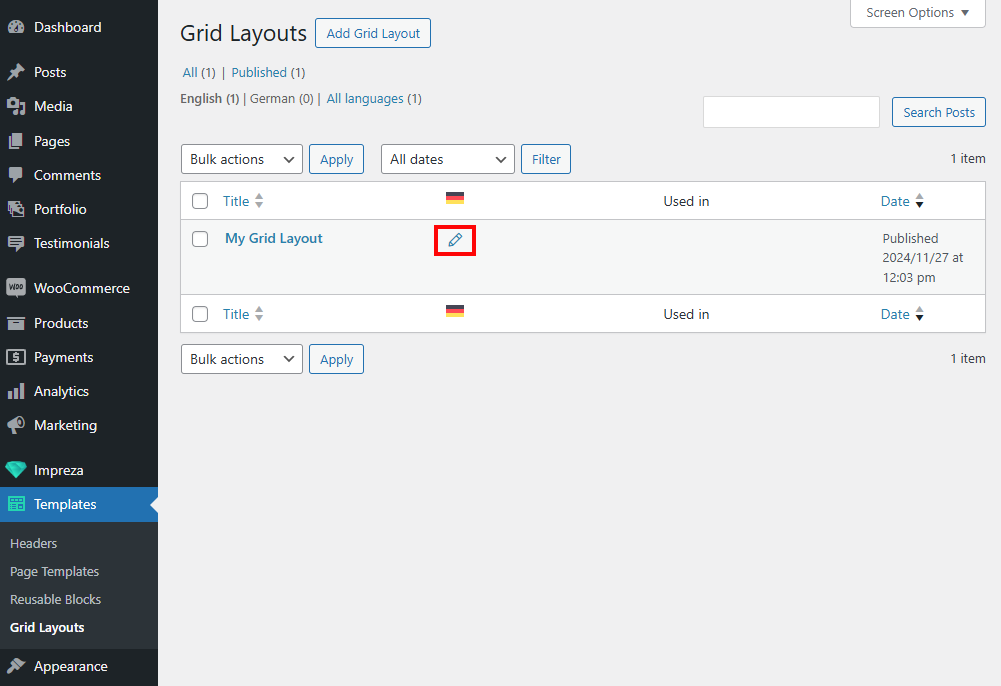
How can I translate elements inside the Grid Layout? #
At Templates > Grid Layouts, click the relevant icon to create or edit a translation for the relevant language(s).
Once the translation is created, you can switch to the relevant language at the top of your admin bar. Open the translated version of the Grid Layout and edit the desired elements to translate their content.