Product Catalog
Updated 4 days ago
Default Shop Page #
The shop page will use its default settings once you install and set up the WooCommerce plugin. You can change the template at Theme Options > Shop > Shop Page.

Custom Shop Page #
In WordPress, a shop page is technically an archive page. You can create a custom template for the shop page at Templates > Page Templates.
A custom shop Page Template must contain the Product List element set up to show "Products of the current query" to display relevant products.
You can edit the Page Template with Live Builder and WPBakery by adding the needed elements and containers.

You can assign your custom template at Theme Options > Shop > Shop Page > Page Template.
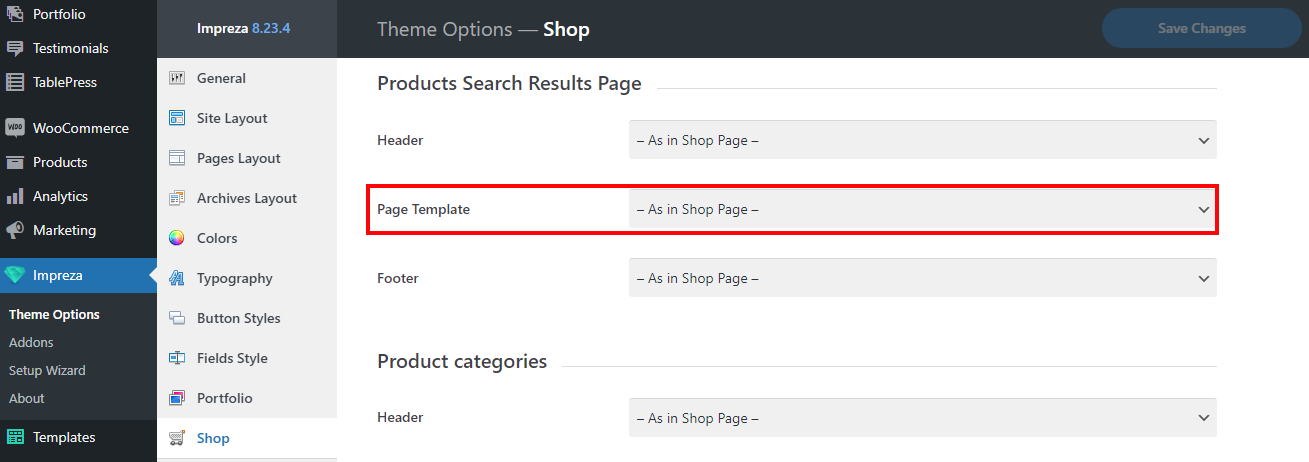
Products Search Results Page #
It uses the shop page template by default. You can create a custom page template for it and assign it to Theme Options > Shop > Product Search Results Page > Page Template.
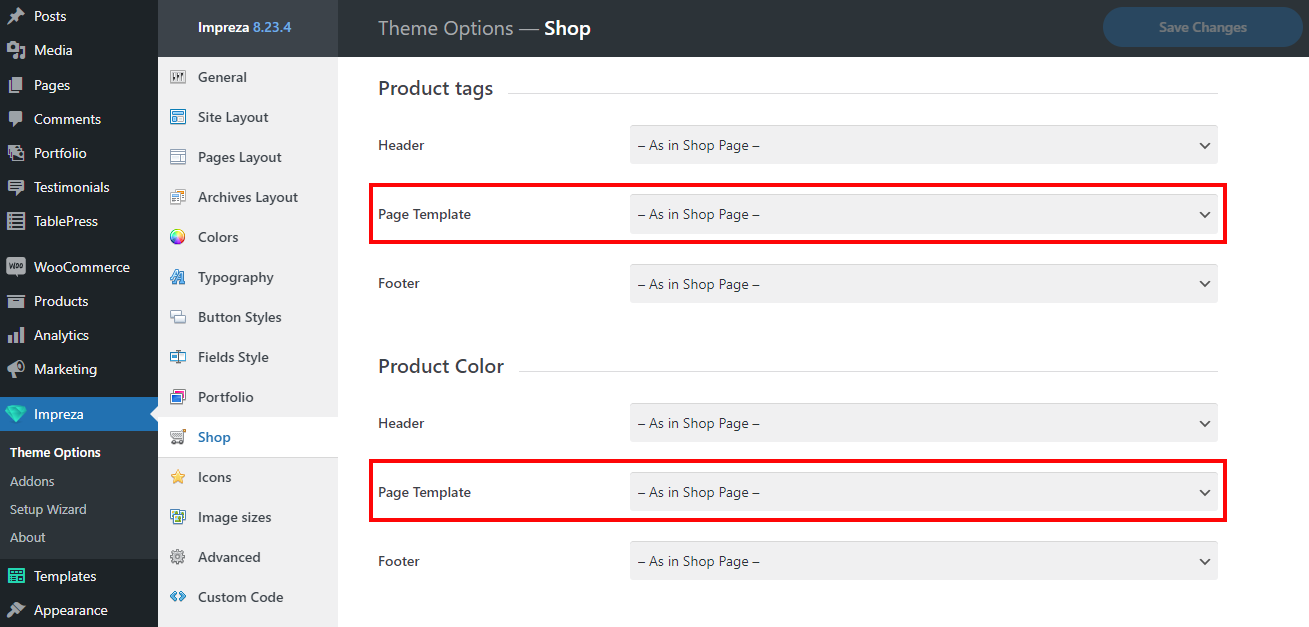
Product Taxonomy & Product Attribute Pages #
These are archive pages to display product taxonomy pages (product categories, tags, and custom taxonomies) and product attributes pages.
These pages are using the shop page template by default. You can create a custom page template for them and assign it at Theme Options > Shop by specifying the relevant Page Templates for taxonomies and attributes.
When creating a new product attribute, activate the "Enable Archives" checkbox if you want it to be listed at Theme Options > Shop.
Importing Page Templates for the Shop #
You can simplify shop customization by importing and adjusting a pre-designed template.
Open the list of pre-built websites, apply the "WooCommerce" filter, and click to view live examples of pre-designed shops.
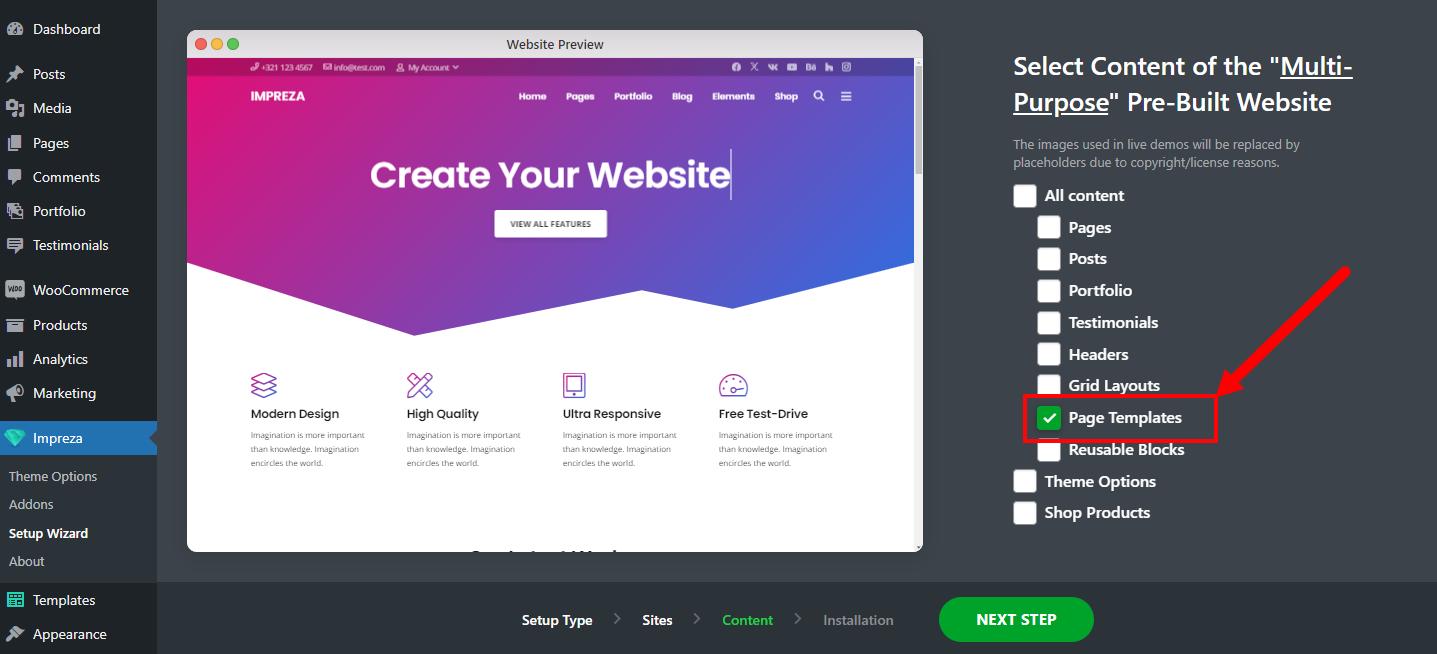
To copy the page template of the shop, you need to:
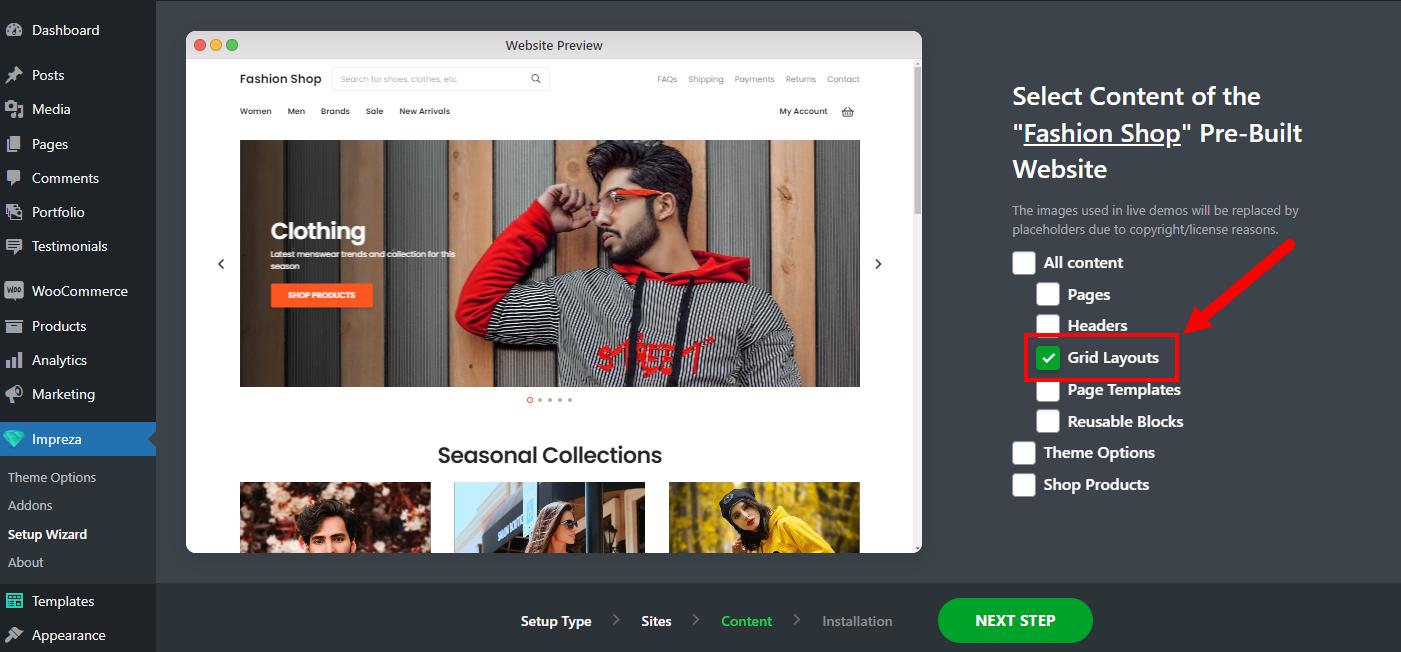
- Open Impreza > Setup Wizard > Pre-built Websites and press Next.
- Find the website you like and click it.
- Deactivate all checkboxes except Page Template and proceed with the import process.
If you only need to import the Page Templates, make sure all other checkboxes are deactivated during the import. There's no undo option if you copy all the content by mistake.
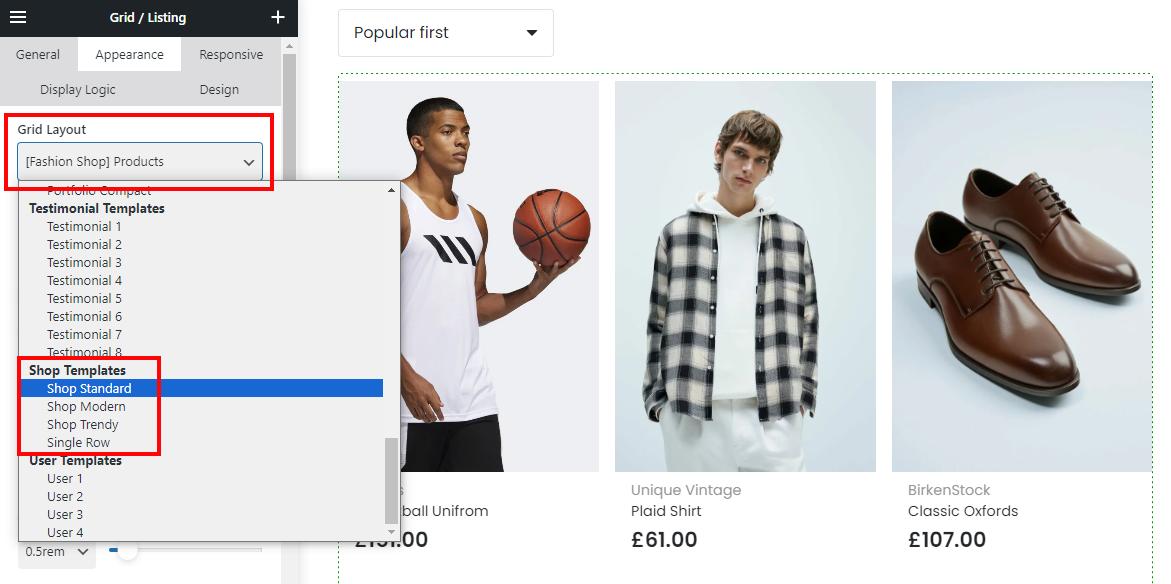
Grid Layouts for the Shop #
When editing the Product List elements showing products, it's essential to pick the Grid Layout designed for products in its Appearance settings.
You can choose one of the pre-designed Grid Layout templates or create a custom one. The relevant article provides more information on custom Grid Layouts.
You can import Grid Layouts from one of the pre-built websites, which is similar to page template import. Ensure you specify only the Grid Layouts checkbox during import to avoid copying all content by mistake.
How to Create the Quick View #
You can create a quick view for your products by adding the Popup element with a custom Reusable Block to the Grid Layout:
- In Templates > Reusable Blocks, create a new Reusable Block and include the product data you'd like to show in a quick view. For example:

- In Templates > Grid Layouts, open the Grid Layout you use for products, or create a new one. Add a Popup element and set it up to show the Reusable Block (Content > Reusable Block) you created earlier:

- Apply your custom Grid Layout to the relevant Product List in its Appearance > Grid Layout settings.
Check the live example:


Shop Page Examples #
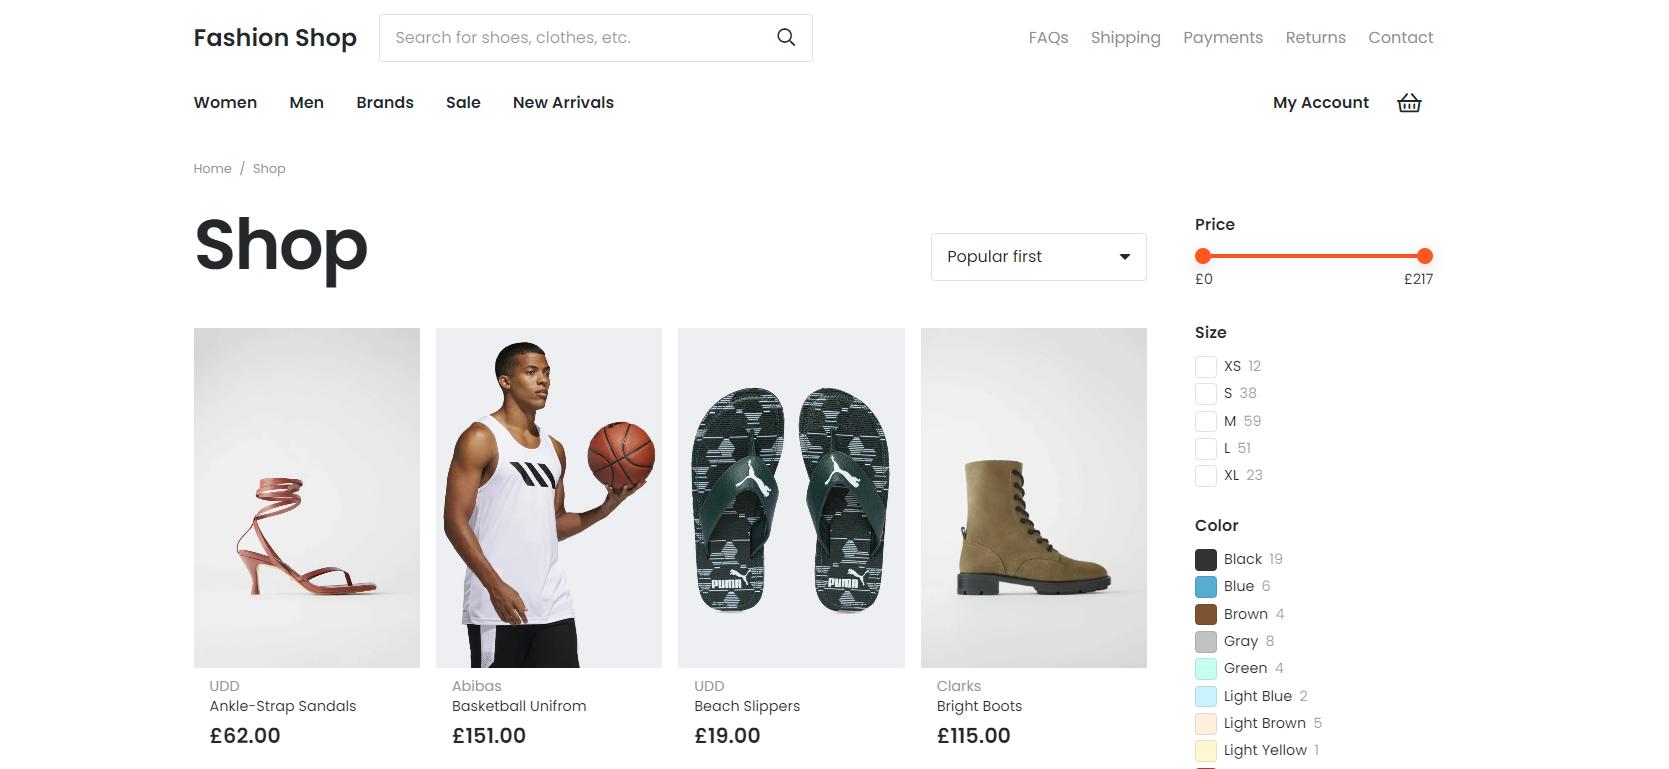
Example1. Fashion Shop #
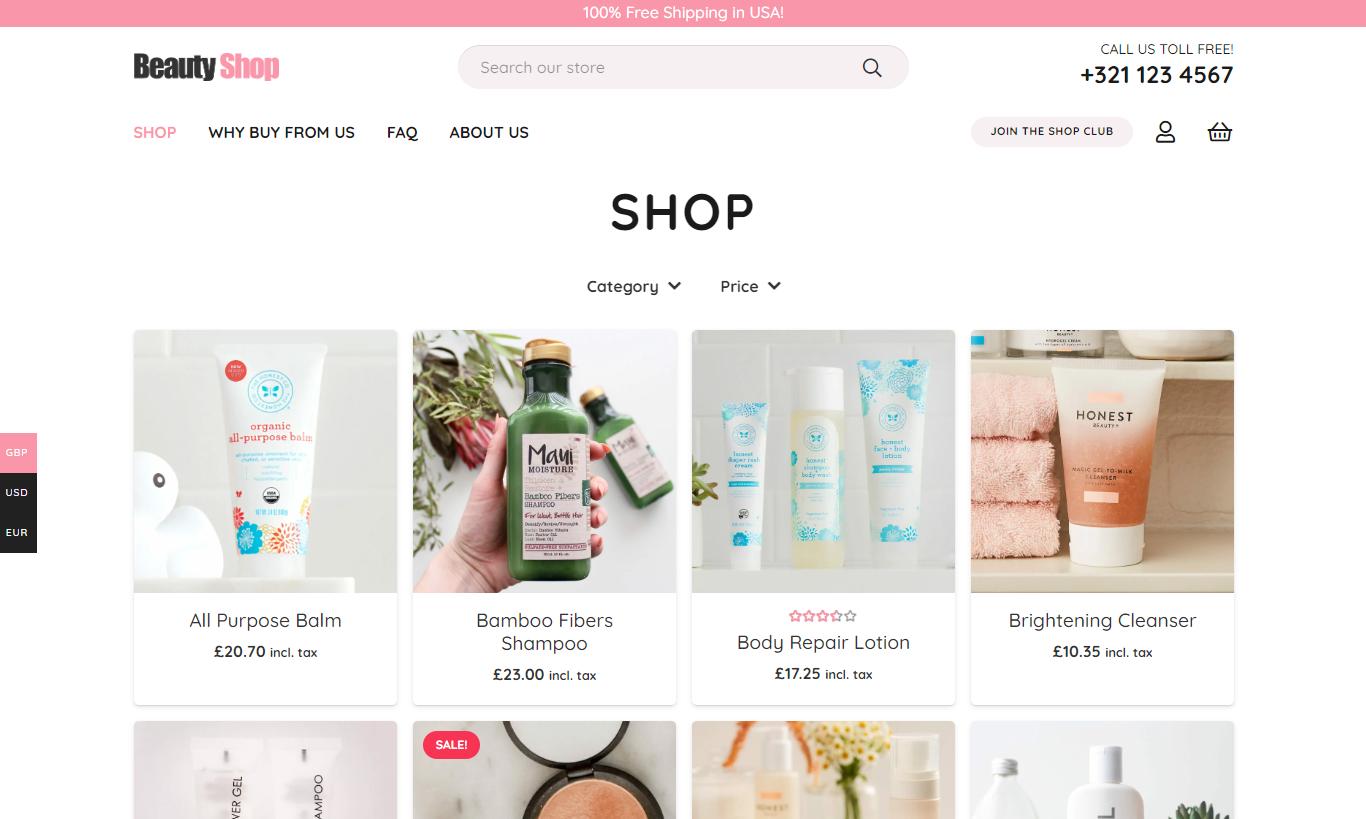
Example 2. Beauty Shop #
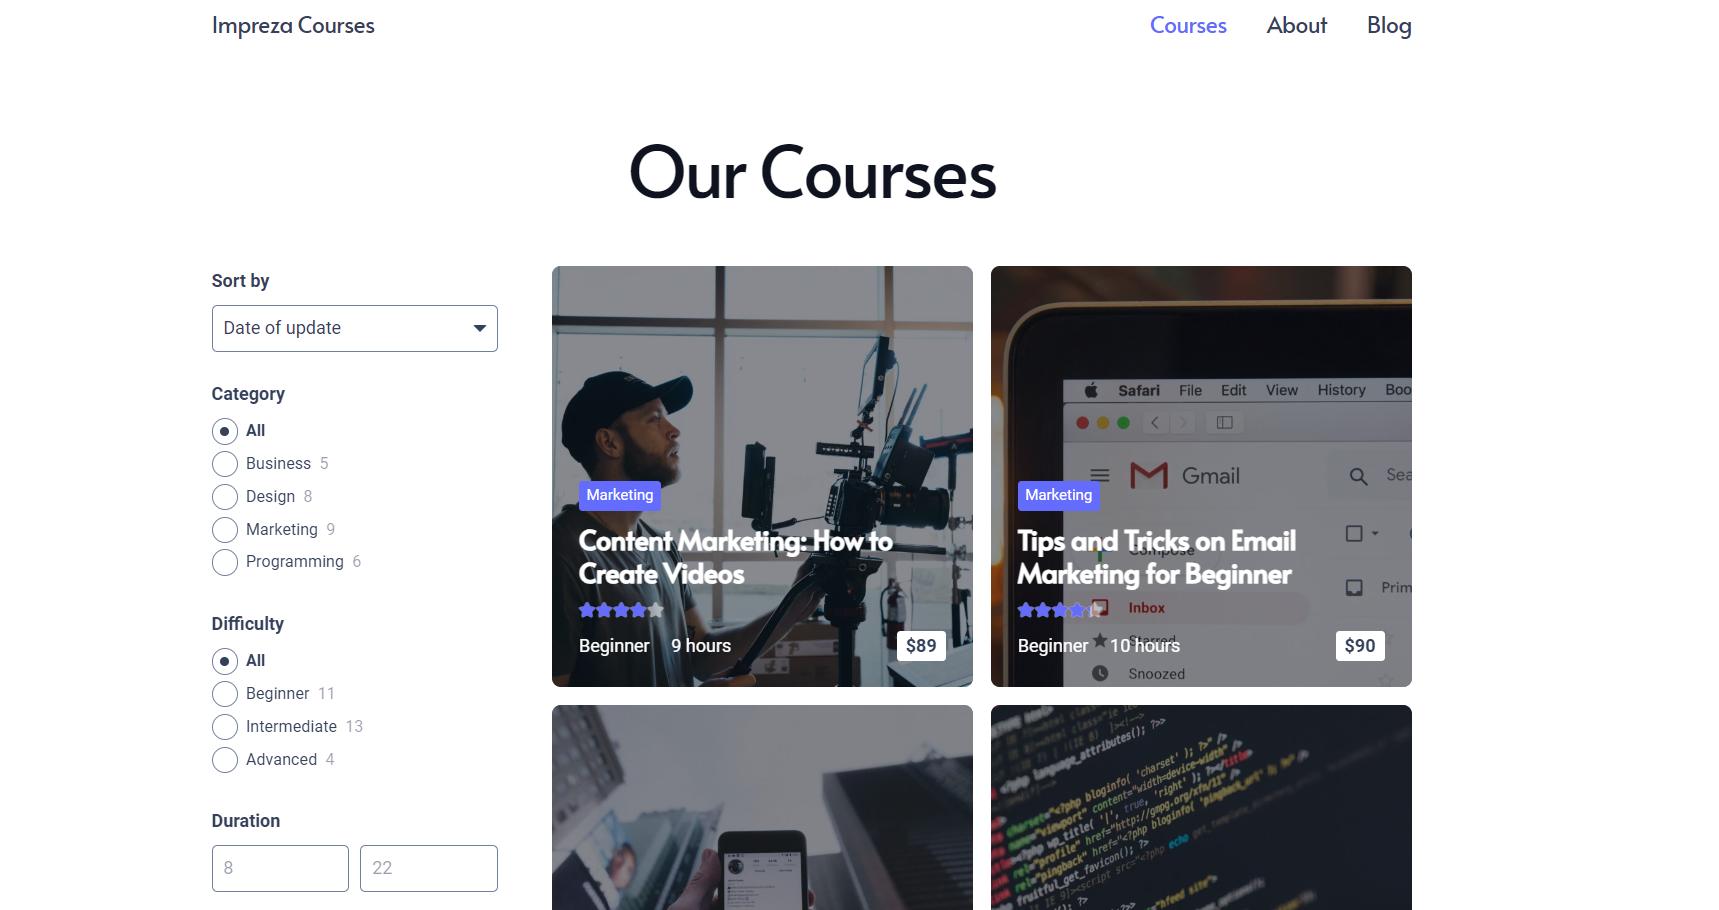
Example 3. Courses #
Navigating through Hierarchical Categories #
The Category Navigation element simplifies navigation through the complex multi-level category structure of the archive page or shop.
Live example: Fashion Shop

How it works #
The Category Navigation shows part of the entire terms structure to a specified depth, defined for parent and child terms connected to the currently viewed term's archive.

- Taxonomy — allows picking relevant taxonomy from the dropdown list.
- Hide empty terms — removes empty taxonomy terms from the visible list.
- Shop post count — shows the number of items that are listed within visible terms.
- Max Parent Visible Level — defines how many parent levels should remain visible within the element when you navigate to a taxonomy term of specific depth. You can return to the previous level by pressing the parent term with the "back" arrow.
- Max Child Visible Level — defines how many child levels should remain visible within the element when you navigate to a taxonomy term of specific depth.
Example 1: 1st-level taxonomy term


Example 2: 2nd-level taxonomy term


- Display as an accordion — switches the terms' appearance to the accordion-like one.
- Allow several sections to be opened at the same time — defines whether it should be possible to open several sections of the same depth at once.
- Control Icon — defines the appearance of the icon next to the parent item with child items.
- Control Position — defines the position (before/after title) of the control icon.